
Now that everything has been repainted, the lights are working, and our travel trailer doesn't look like a complete construction zone, let's get to the fun stuff!
Decor or organization? Why can't it be both?
We were forever struggling with where to put sunglasses in our camper. Wallets, keys, etc. all had "their place," but sunglasses had been relegated to the ledge of molding around the main living area slide out. I found this little framed piece of chicken wire, and I immediately knew what I was going to do! I stained it, created and stained two small wooden blocks to "lift it" away from the wall, glued them to the backside of the frame, and screwed the whole thing to the wall. I think it's perfect! As soon as we walk in, we have a place for our glasses in addition to all of the other things. I found a cute black and white buffalo plaid basket that now houses our shoes, too.


These two cute baskets are admittedly holding fake herbs (even though I do love having real ones in our home), but they also serve to hold lemons, limes, onions, heads of garlic when we are camping. Then, those items don't take up extra space in the refrigerator or my small pantry, and they're at my fingertips while cooking. I wood-burned the little cutting board's handle for some extra personalization.
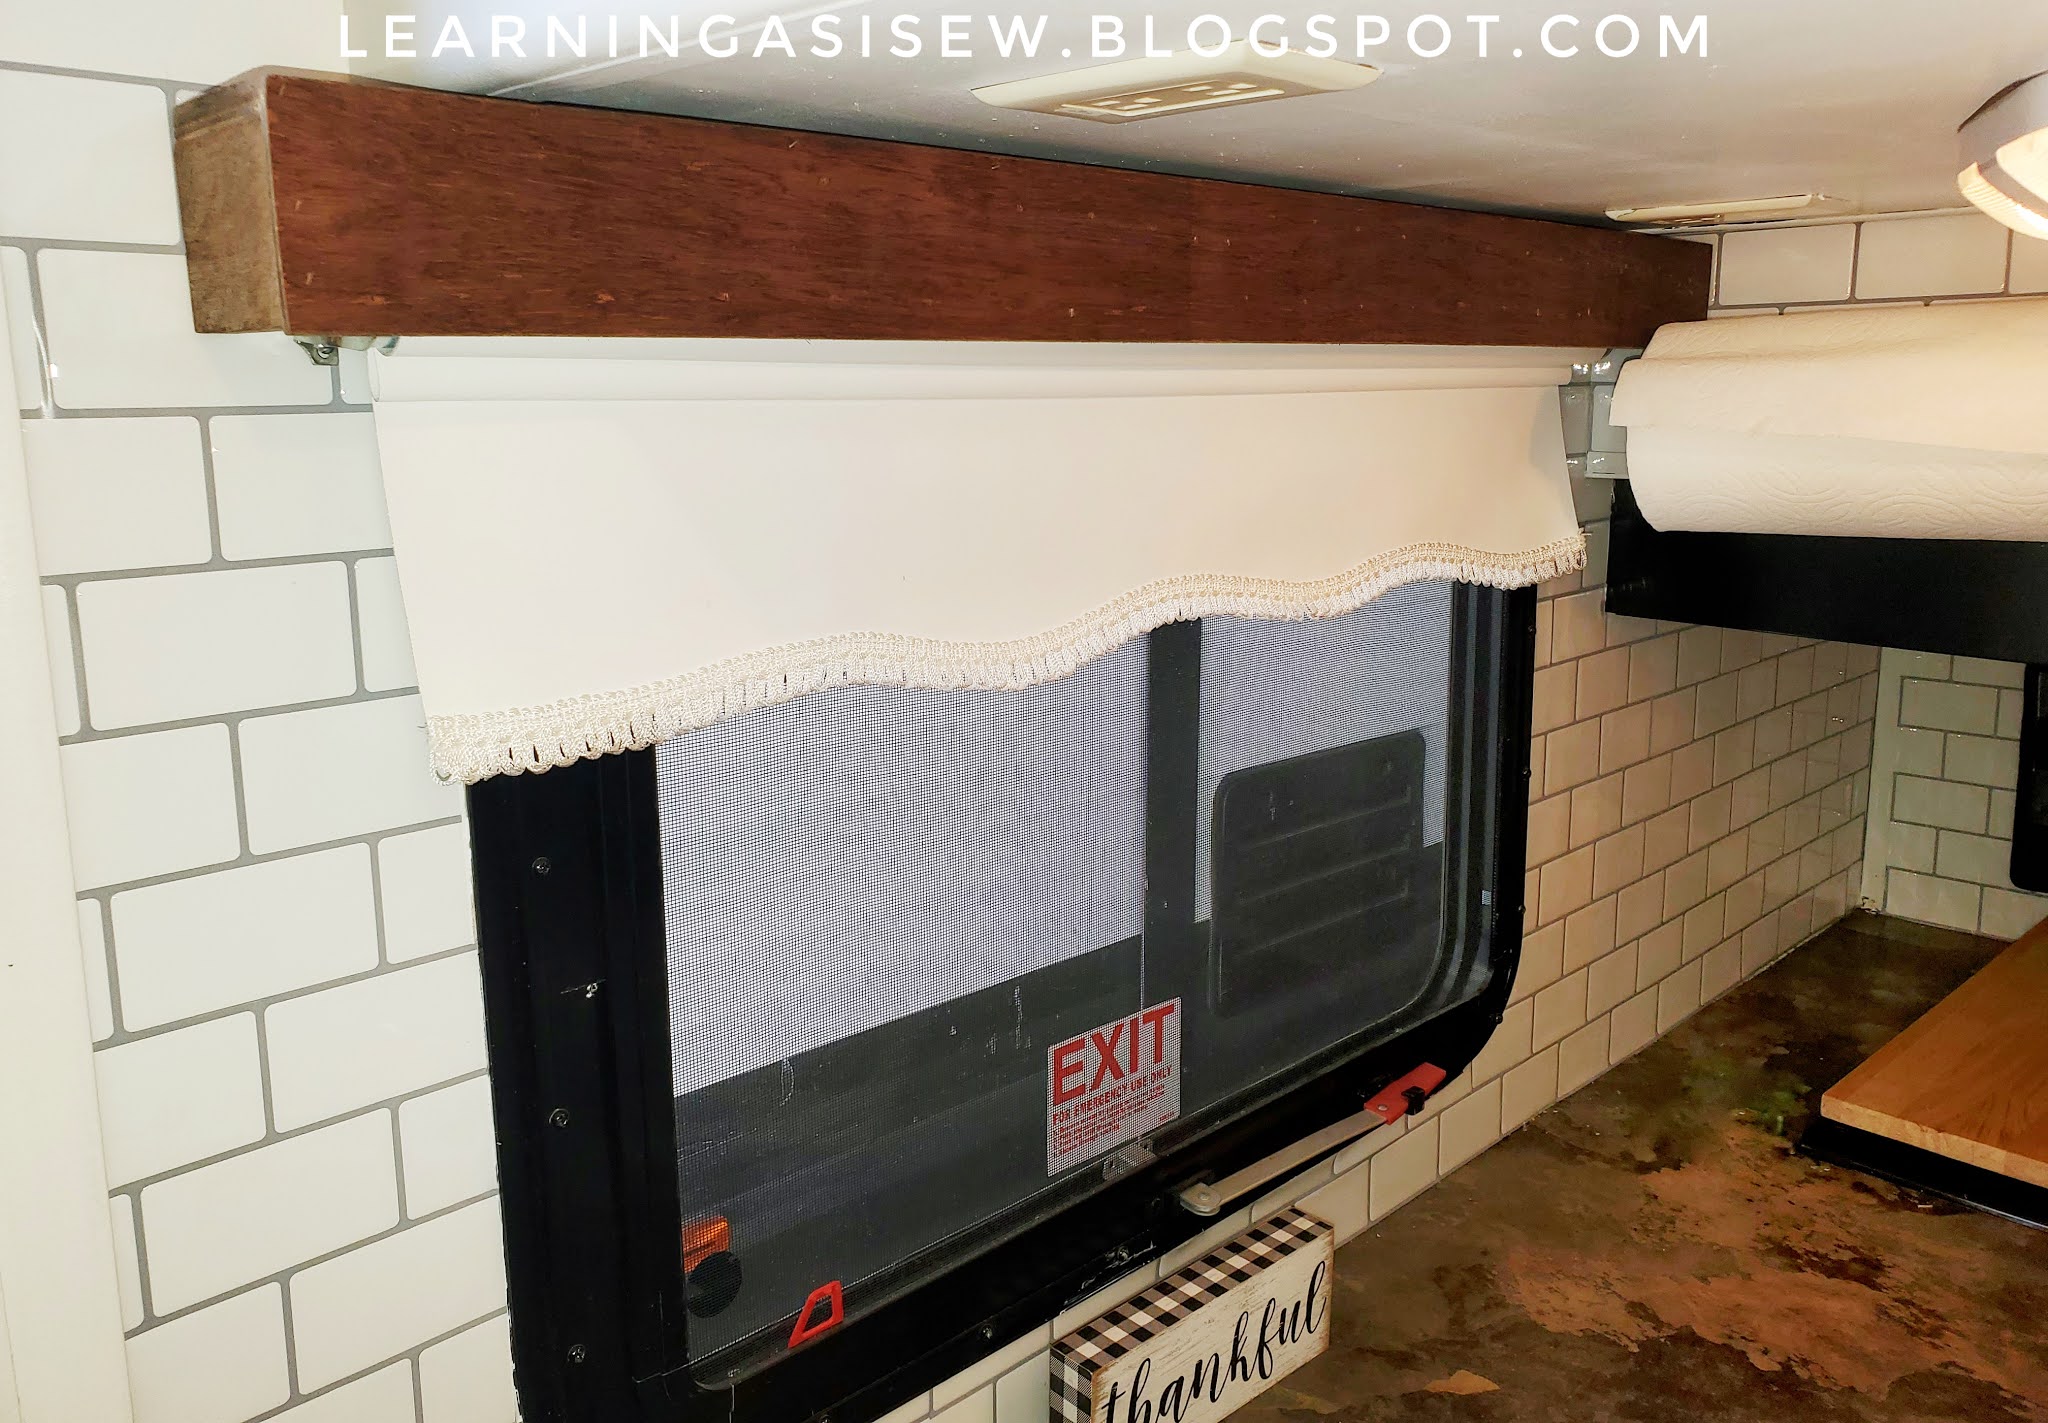
I had seen the cast iron flange and copper pipe paper towel holder in a few places, and I loved the idea. I don't remember which "list of supplies" I used, but for the love of peaches...CHECK to make sure that all of the pieces fit and will work together before you leave the store. Between the paper towel holder and the toilet paper holder, I made more unnecessary trips to our local home improvement store than I even want to admit. Not all 1/2" elbows are created equally, and my list said I needed a 90 degree male/female or "street" elbow. LIES! (Of course, I'm certain they didn't *intentionally* mislead me.) If I had really looked at the item in its tiny little bag or considered the male/female part of it, I would have known that it was the wrong item.


Here is our shoe bin again and the "Farmhouse" kitchen mat that I found on sale at the craft and decor store.

A few other things that took up entirely too much countertop space...or even just SPACE if I moved them off of the counter when not in use were my Instant Pot and coffee maker. I had even recently downsized our Keurig to this super narrow Mini Keurig for tight spaces. Still. I needed some of that "real estate" back. I feel like that was probably the HARDEST thing for me to find for the renovation. I wanted something that would fit in this very small space with an easily accessible outlet when the camper was stationary. I wanted it to be big enough to store the Instant Pot (or coffee maker) inside. It also had to be able to be moved for when we are on the road. The slide out occupies that space when the slides are pulled in. I felt like I was searching for a unicorn.
This is what I found, and I LOVE it. The Instant Pot is hidden inside. The baskets hold coffee pods, cups, and more. It's just big enough to serve as a coffee (and tea - my daughter would remind me) station, and it's not in the way. I will say that we are having to make some "accommodations" for it so that when it is on 3 different levels of the flooring that it is sturdy and level. (A low-profile custom "box" with 2 sections built up and indentations for the table's feet is the answer. Then, when the table is stowed for travel, it is still level. When it is in use, it sits atop this custom piece.)


We were camping at Halloween, and my daughter thought we really needed this cute pumpkin for the trip.
The little "Coffee Time" tile was actually part of a small piece of framed art, but I removed the frame, added felt pads, and use it as a spoon rest so that 5 spoons aren't in the sink before we've even eaten breakfast.

Coffee station art also came with some very specific requirements, although not nearly as difficult to find/make as the little table itself. Everything needed to be super low-profile for the slide to come in. I actually had more pieces for this area, but I decided to make one based on the side of a barn that we see every time we are in Cuchara, Colorado.

I had used some inexpensive tongue and groove wood for the "faces" of my new cornices over the living room windows. With 3 short pieces of the tongue and groove, I glued them together, stained them, and painted this little sign with a twist for our last name. (I teased my husband often while doing this renovation that since I was doing "farmhouse" there would be roosters and chickens EVERYWHERE. At one point, I think he actually started to get worried.) So far, this is the only rooster in the whole RV, but I did find some super cute "farm" fabric that I need to make a pillow or something with.


Originally, before I decided to do the super small coffee station, my "unicorn" had an even longer list of requirements. I *REALLY* wanted a small table that fit in that space with drop-leaf extensions on opposite ends so that I could have a butcher-block island to help with counter space, meal prep, and serving. I'm telling you that I searched for MONTHS.
I still had our oddly shaped table from the banquet in the camper. (I had been using it as an extra surface that we NEEDED.)

I *wanted* one solid butcher block that would cover the full base of the table but still be narrow enough to use as a coffee table or an island. The travel trailer's original table was adjustable height to accommodate an additional person to sleep.
Butcher blocks that big are EXPENSIVE. We even looked at some that are really intended to top work benches and tool chests, but none of those were big enough.

Two IKEA cutting boards turned upside down, joined with brackets, and screwed to the original table base made for a $40 adjustable height coffee table / butcher-block island. I *do* wish I had taken some time in IKEA to find 2 boards that more closely matched the grain of each other, but it's perfect for what I needed.

This was on the Halloween camping trip (maiden voyage after the makeover,) and I found my daughter with a breakfast of champions....

The buffalo plaid coasters seemed like a must.


 |
| Adventure Awaits SVG file can be found here. |
In our bedroom, I added a little pressed tin "E" with a lamb's ear wreath, the kitchen towel blackout curtains, reclaimed wood wallpaper in the inset, and the vinyl I cut on my Silhouette. "It's always better when we're together." (Free SVG can be found here.)

I added several 3M Command hooks for the broom, towels, etc. We also have an over the door hook rack that we will have face into the Master bedroom. The little shelf above my window gives me a space to corral small items, my Kindle Paperwhite, etc. so they don't get lost or smashed in the small space of our bedroom. I will likely add a photo to the wall on that shelf or just above it. I knew which ones I wanted in the kids' room, but I haven't chosen any for our room.


The bunkhouse....
As you enter the bunkhouse, there are 3 MixTiles photos of the kids and our boxer on the beach and some additional hooks for the kids specifically.

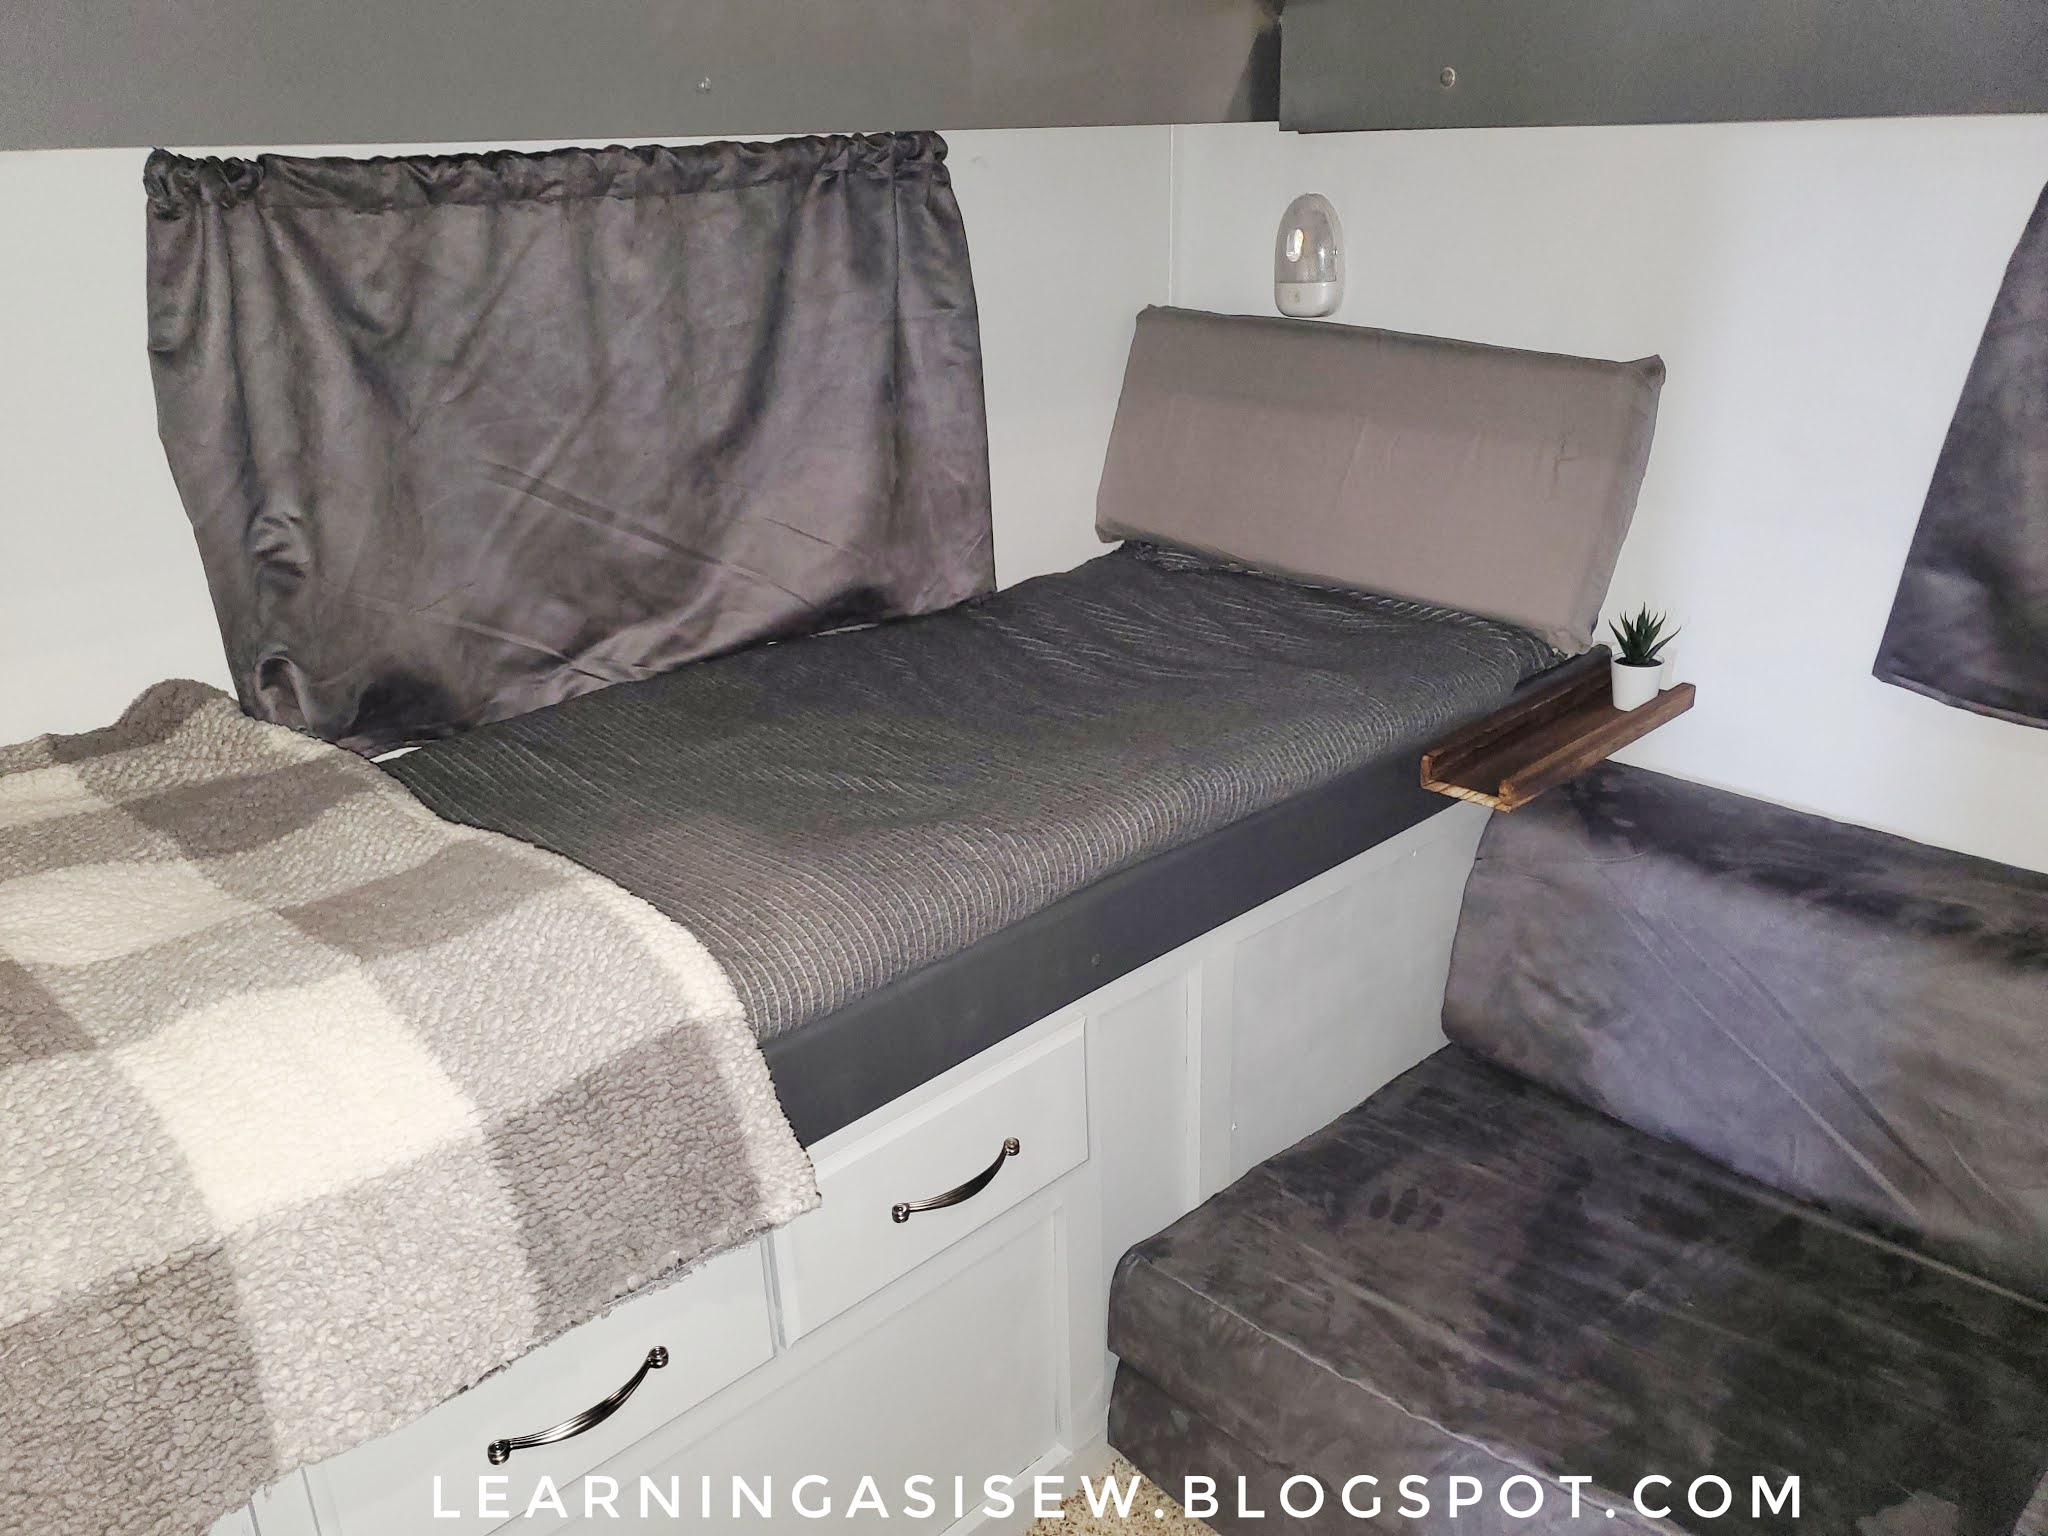
Here it is painted, but before I finished getting bedding and converting some of the banquette cushions to back cushions for each of the bunks.

As a super easy way to cover the banquette cushions for the kids to use on their beds, I ordered king-size pillow cases that have the "pocket" on the open end, and then did a quick sew job (on the already sewn edges) to make them the exact right size for each cushion.
Here, you can also see that there's a light blanket on the bed and a heavier fluffy one at the foot of each bed. The 2 cub couches no longer shed that nasty pleather and are fully functional to make into 2 twin beds in the bunkhouse.

Possibly everyone's favorite functional upgrade to the camper is a new bathroom doorknob that LOCKS. 😜
The new shower curtain is plastic, and I cut it to be the size I wanted. I had to order some more of the track curtain holders and hooks to accommodate the new curtain. The geometric clear section allows for more light while taking a shower (without being a "window" into the shower.)
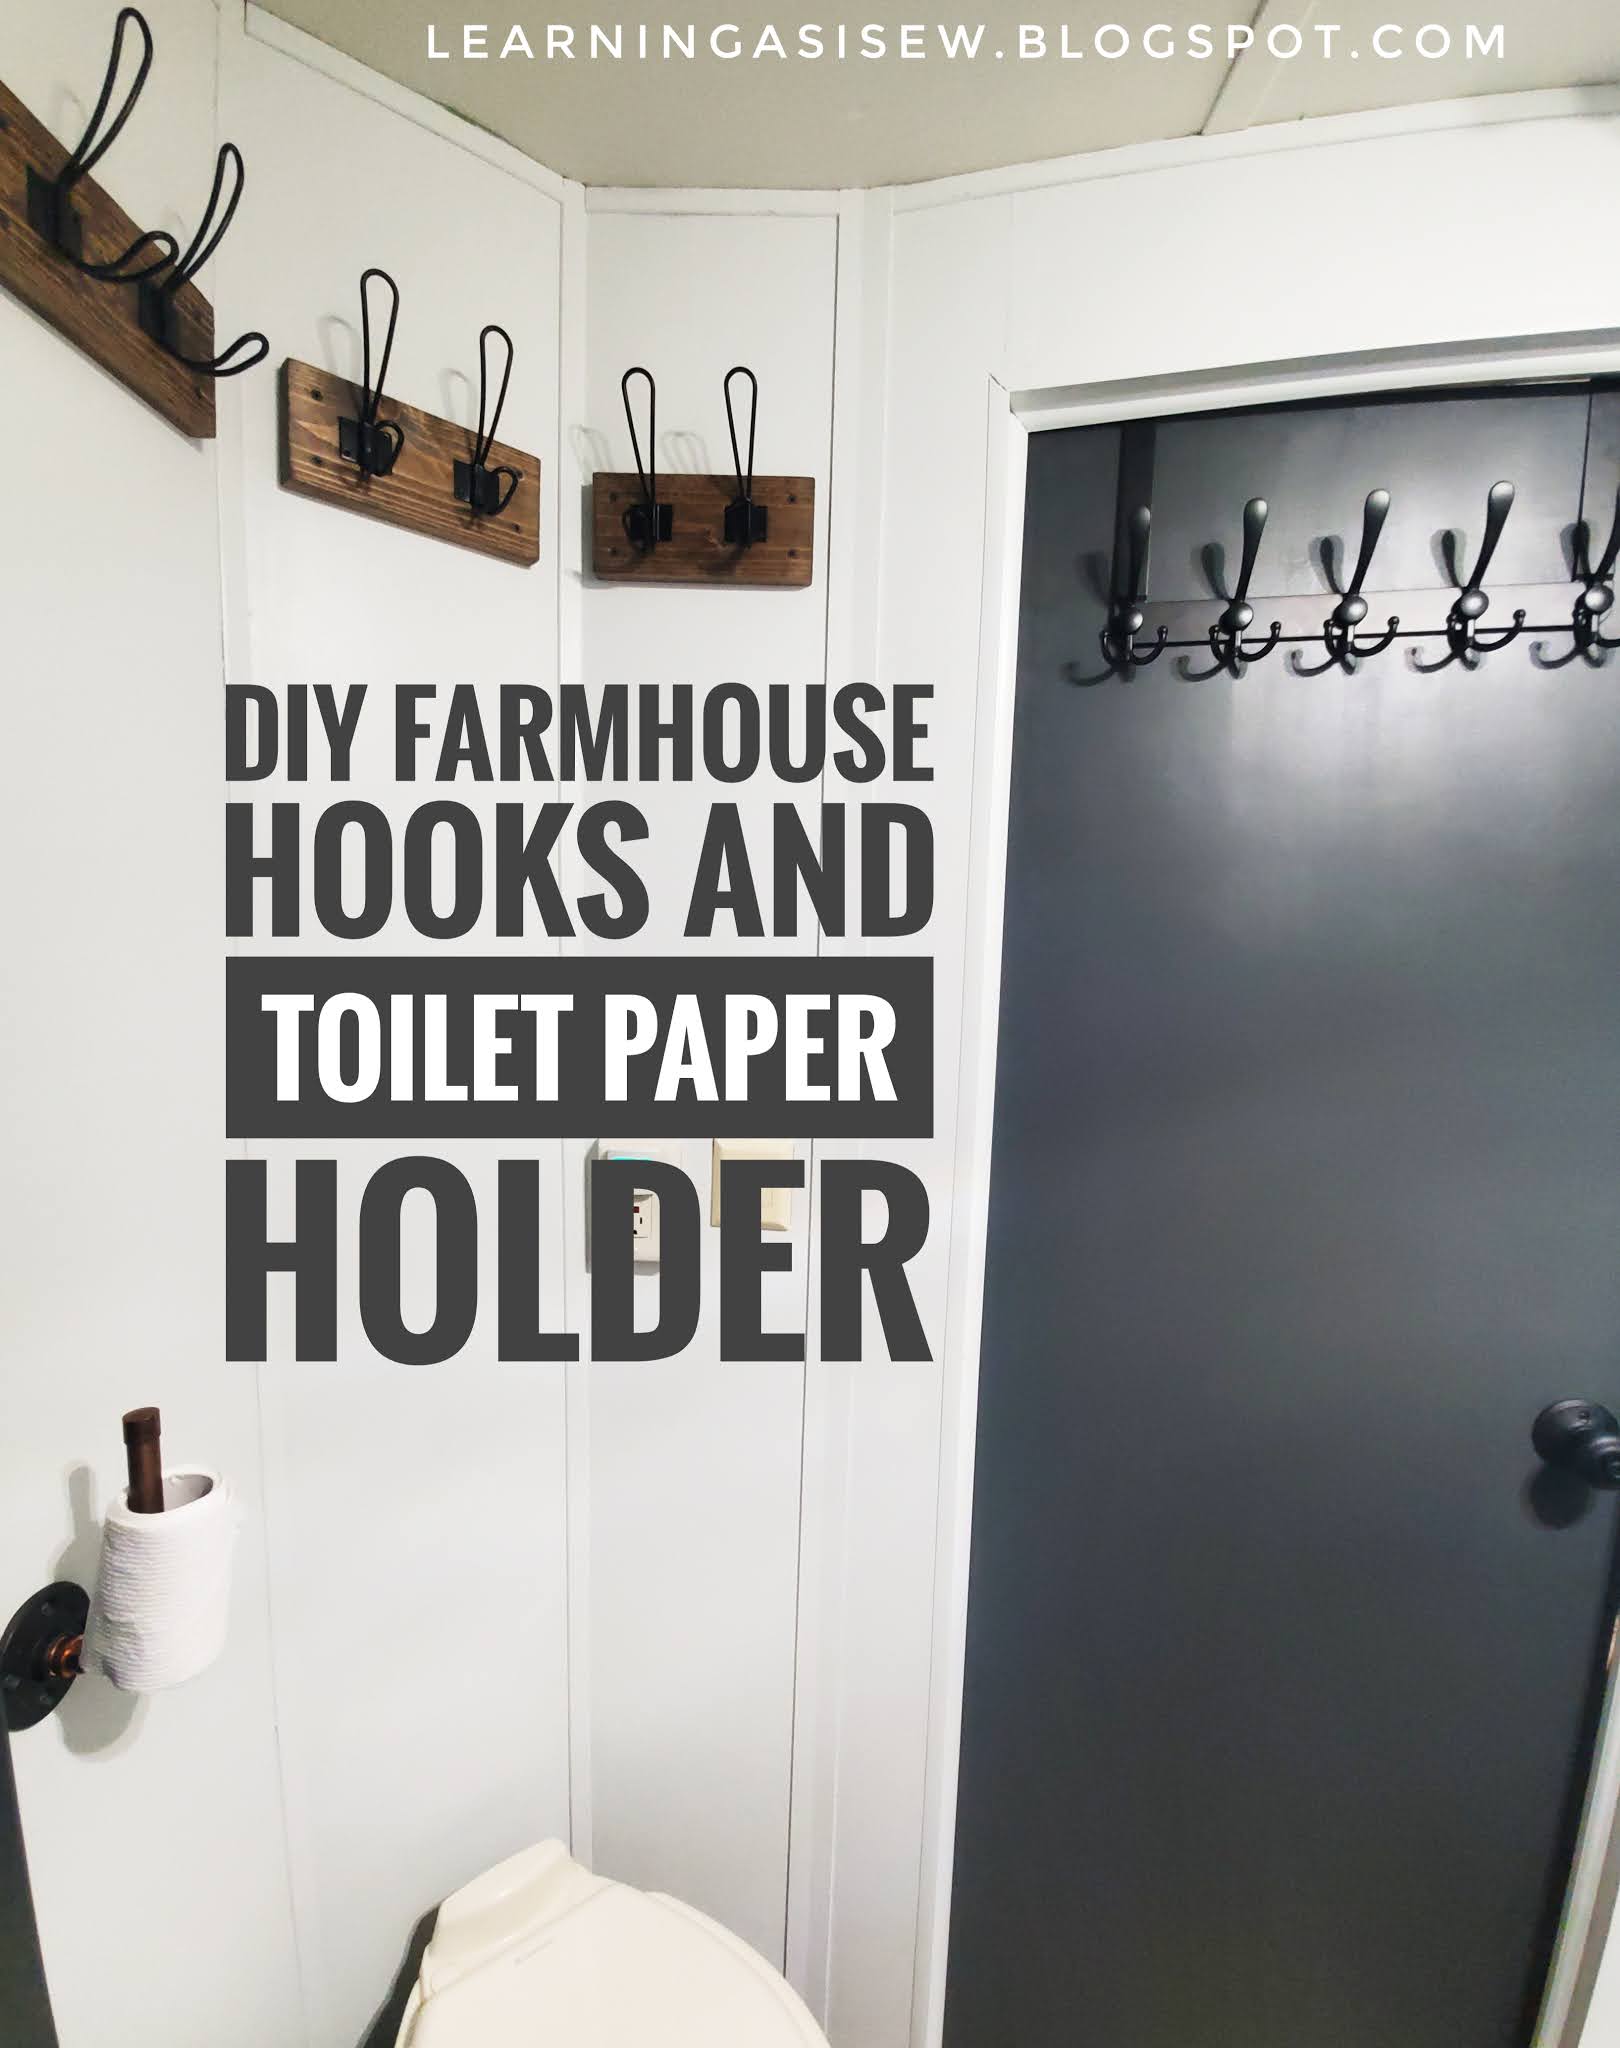
I added hooks EVERYWHERE in the bathroom. 33 to be exact. I added them directly to the wall, on boards, and over the door. With a family of 5, by the time you have hand towels, wash cloths, towels for showers, the beach, etc., we need a lot of hooks.

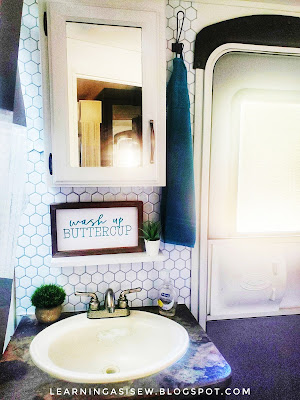
 I made this little shelf with a piece of leftover wood from one of the other projects. I painted it white, added 2 L brackets, screwed the "Wash up, Buttercup" sign and the little fake plant to the board from the under side, and attached it to the wall over those oh-so-cute (but still what nightmares are made of) hexagon Tic Tac Tiles.
Check out the rest of my RV posts here.


There are a few more things that I plan to do in the travel trailer, but I couldn't be happier with our first wave of renovations!


No comments:
Post a Comment