
Our Keystone Cougar X-Lite with bunkhouse (31SQB) is our second "RV."


We previously had a pop-up camper with 2 kings, a convertible dinette, kitchenette, and a cassette toilet. We are a family of FIVE and had 2 Boxers. You can imagine that we may have looked a bit like the Clampetts when we rolled around with the pop-up with 2 adults, a child, 2 toddlers, and two Boxers. I digress....
We've had our current travel trailer since 2013, and we have loved it. It works for what we need, but we no longer could stand a few things about it that quit working for us. We started looking at 5th Wheel toy haulers, because we'd like to bring our golf cart with us. However, the more I wrestled with the fact that our oldest will graduate in less than 3 years and our twins only have 6.5 more years living with us, I couldn't justify in the investment of a 5th Wheel Toy Hauler upgrade that was going to be way more than what my husband and I would need/want in a few years. But I was over it with the peeling pleather couch and cub couches, the u-shaped dinette that hardly seats our family of 5 that is growing up and no longer comfortably seats all of us, and the brown. All.of.that.BROWN. Ugh.

 |
| Although we ripped out the U-shaped banquette, I kept the table in the camper for much of the remodel. It was a handy surface to have, and in the end, I took the top of it off and repurposed the bottom that raises and lowers. In a future post, I'll show you what I did to get a "butcher block" coffee table and regular height table in one for only an additional $40 by repurposing the base. |


Brown walls, brown carpet, brown blinds, brown furniture, brown cabinets...BROWN.
So, after our last summer camping trip to the beach in August, I was done! We unloaded the trailer, and I started ripping out the couch and the dinette. My husband didn't protest, and my almost 11 year old daughter became my partner in renovation. She loved seeing the transformation.


We still had to take down all of the blinds, the fabric covered valances/cornices, and curtains. We also removed the chair rail wallpaper borders. There are screws in EVERYTHING, and I don't know how much weight there was in STAPLES in the cornices, but I think they must have paid the upholstery people by the number of staples they used.
I had helpers....

I love that my baby girl didn't hesitate to pick up the drill, sander, etc. as we worked on this project.

We sanded all of the walls, cabinetry, etc. Mouse Sanding Pads are great for those corners and hard-to-reach places. Here, Britt is using our regular rotary sander to rough up the cabinet doors.

Then, we wiped it all down using Simple Green. I read that some prefer cleaning the walls with TSP, but I really didn't want to deal with the harsh chemicals. Not to mention, my children were helping me! Being that we were going to use Kilz Adhesion Primer, I wasn't worried about anything seeping through. I just wanted clean surfaces to prime and paint. Speaking of Kilz, our camper always had a distinct "smell." That may sound weird, but it smelled that way when we bought it new, and it still smelled that way until we primed the entire interior. Now, it doesn't "smell."
I looked at different paint swatches in the camper against pieces I intended to keep temporarily (floors and countertops.) I made visual notes so it was easier for me when it came time to pick final colors.


After the sanding and cleaning were complete, we started priming with the Kilz Adhesion Primer. We primed the cabinets, walls, and even the ceiling of the slideout. The brown slowly disappeared, and it already started to look like a new camper!
 Yes, it was a construction zone.😂🚧👷
 This was during the priming process, and even the Primer made all of that dingy tan and brown look better.

Next up? PAINT! Here's a sneak peek....


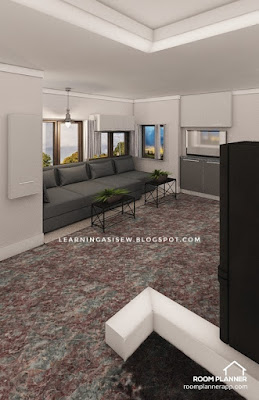
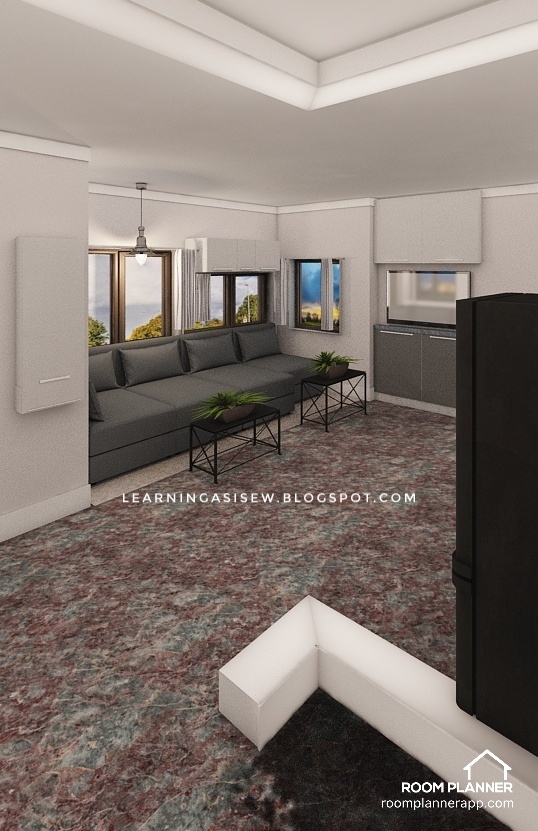
I was getting so excited that I found an app to start creating a "vision" of what I wanted to do. I was trying to "see" what cabinets I might want to paint darker and which ones to do white. This was one iteration of my mock-up.
 |
| Winds Breath |
 |
| Argos |
 |
| Iron Ore |


No comments:
Post a Comment