Our laundry room has become a place for things that don't have a "home" elsewhere in our house. (Chairs, candles, framed art, etc.) It was making me absolutely crazy. At one point, our Great Dane's crate was housed in our laundry room as well. As you can imagine, it took up a great deal of space. Once we moved her to an extra extra large crate, the extra large one in the laundry room was taken out. I was inspired to finally make good use of the laundry room...for...can you believe it: LAUNDRY! I never took true "before" pictures. Previously, the refridgerator and the dog crate were on the opposite wall from the washer and dryer. When the crate came down, we moved the refridgerator next to the dryer. This opened up an entire wall for cabinetry, folding area, and shelving.
Here are the earliest "Before" pictures that I have.
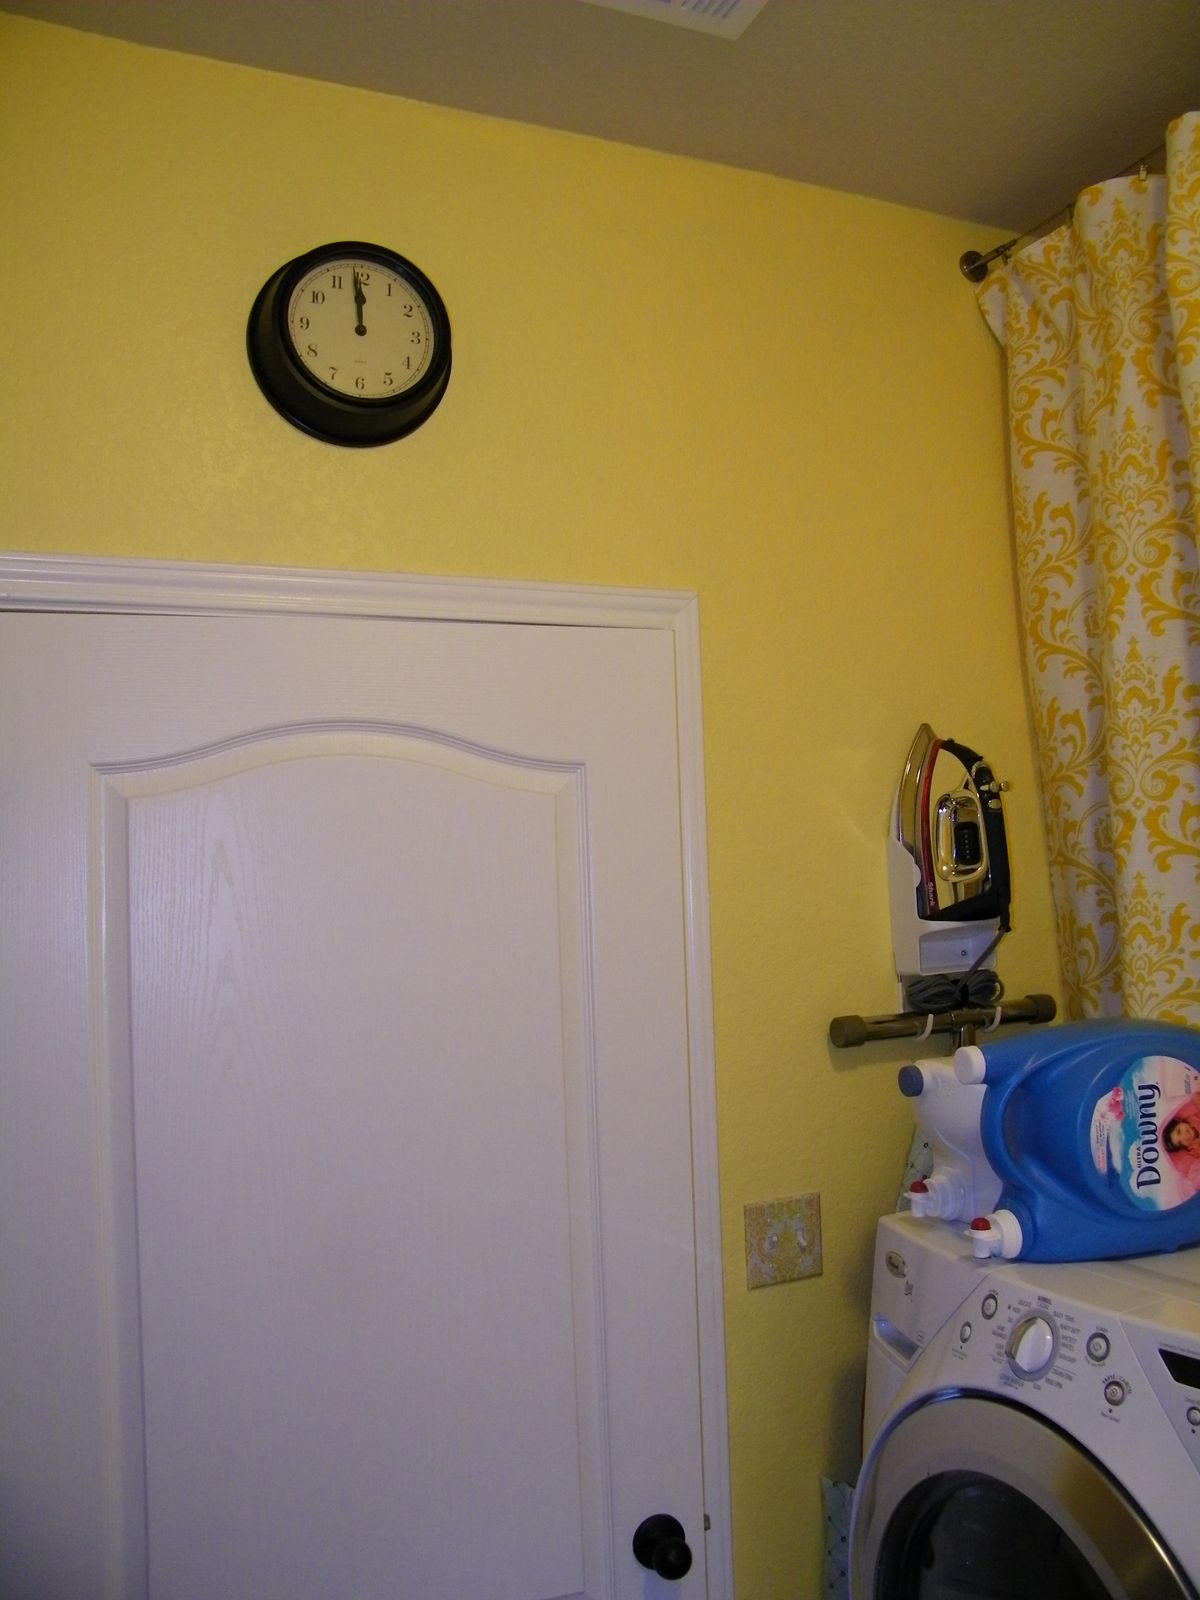
I painted the walls with Behr Enamel paint in "Sunporch" yellow.
I cut vinyl using my Cricut Expression for the laundry room walls. You can read more about how I did the "Laundry Room" vinyl
here.
My father in law built a drying rack for me similar to the one found
here. I absolutely *love* it. It folds up and out of the way against the wall (secured with magnets) when it's not in use. The rungs easily fold out (pull out, the magnets detach, and chains hold it in place) when you need them. It looks great with the beadboard backing, and I don't have to drag out my old rack every time and find a place to set it up. It's off of the floor!
I will probably make a black vinyl "Wash. Dry. Fold. Repeat." sign to go above the drying rack.
Next, we added a low cabinet directly across from the refridgerator: a place to put clothes fresh out of the dryer.
In the built-in, we also added an open-shelved cabinet with a higher top folding table. The open shelves will hold a basket for each family member's folded clothes and a trash can. I still need to cut vinyl to go on the trash bin (which has been replaced since this picture was taken with this one.)
I bought a framed bulletin board for over the low cabinet that will be used to tack up "lonely" socks until their mates surface. If you think about it, once a sock leaves the laundry room, the likelihood of it being paired with its mate are very slim. I think, sometimes, they even find their way to the wrong bedroom. I hope that the bulletin board being right there with all of the single socks visible when I'm folding clothes will cut down on the ongoing single sock drama at our house.
Next to the built-in, we have a 3-section hamper (labeled for whites, light colors, and dark colors), and we added 2 adjustable width hanging rods from Ikea for clothes after they come out of the dryer or off of the drying rack. The top rod is intended for empty hangers.

I added a clock over the door and a fabric "curtain" over the open shelving above the washer and dryer.
I know this picture is sideways, but I didn't take the time to fix it. Instead of buying a fancy switchplate cover, I covered the ugly white one with a print out of the fabric pattern I used and some ModPodge.
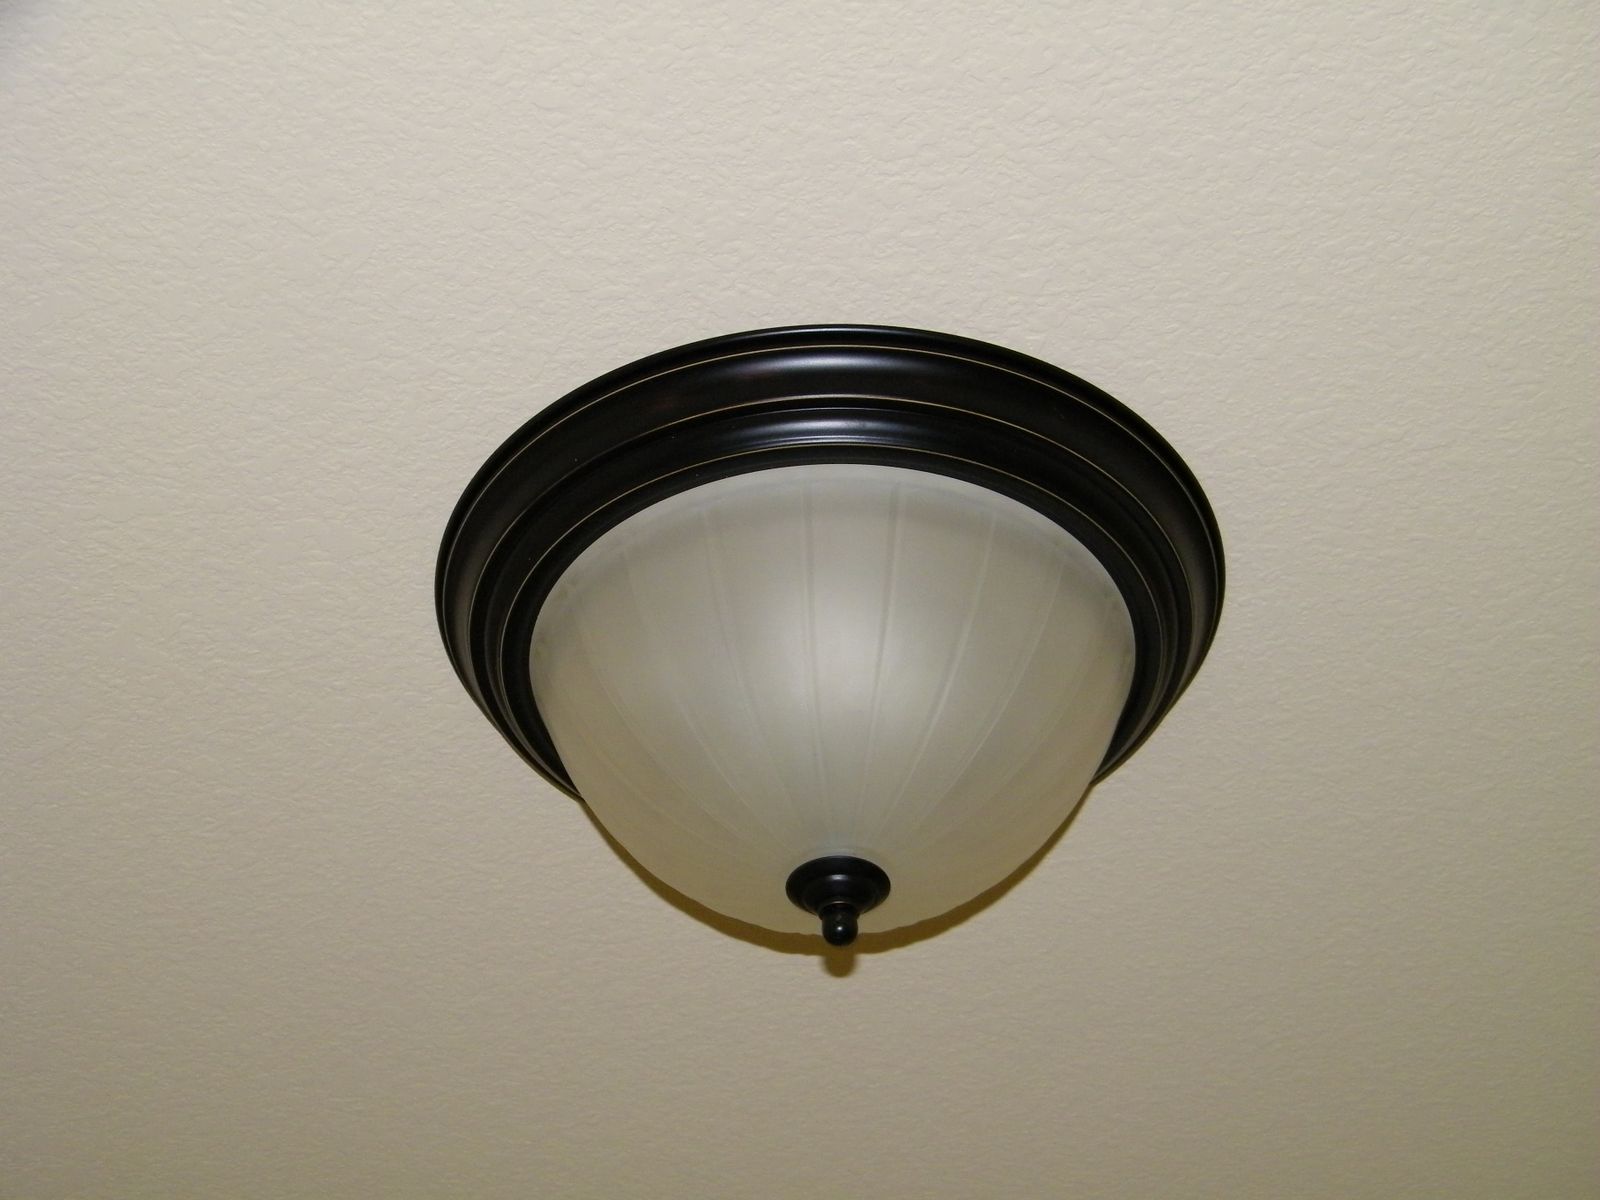
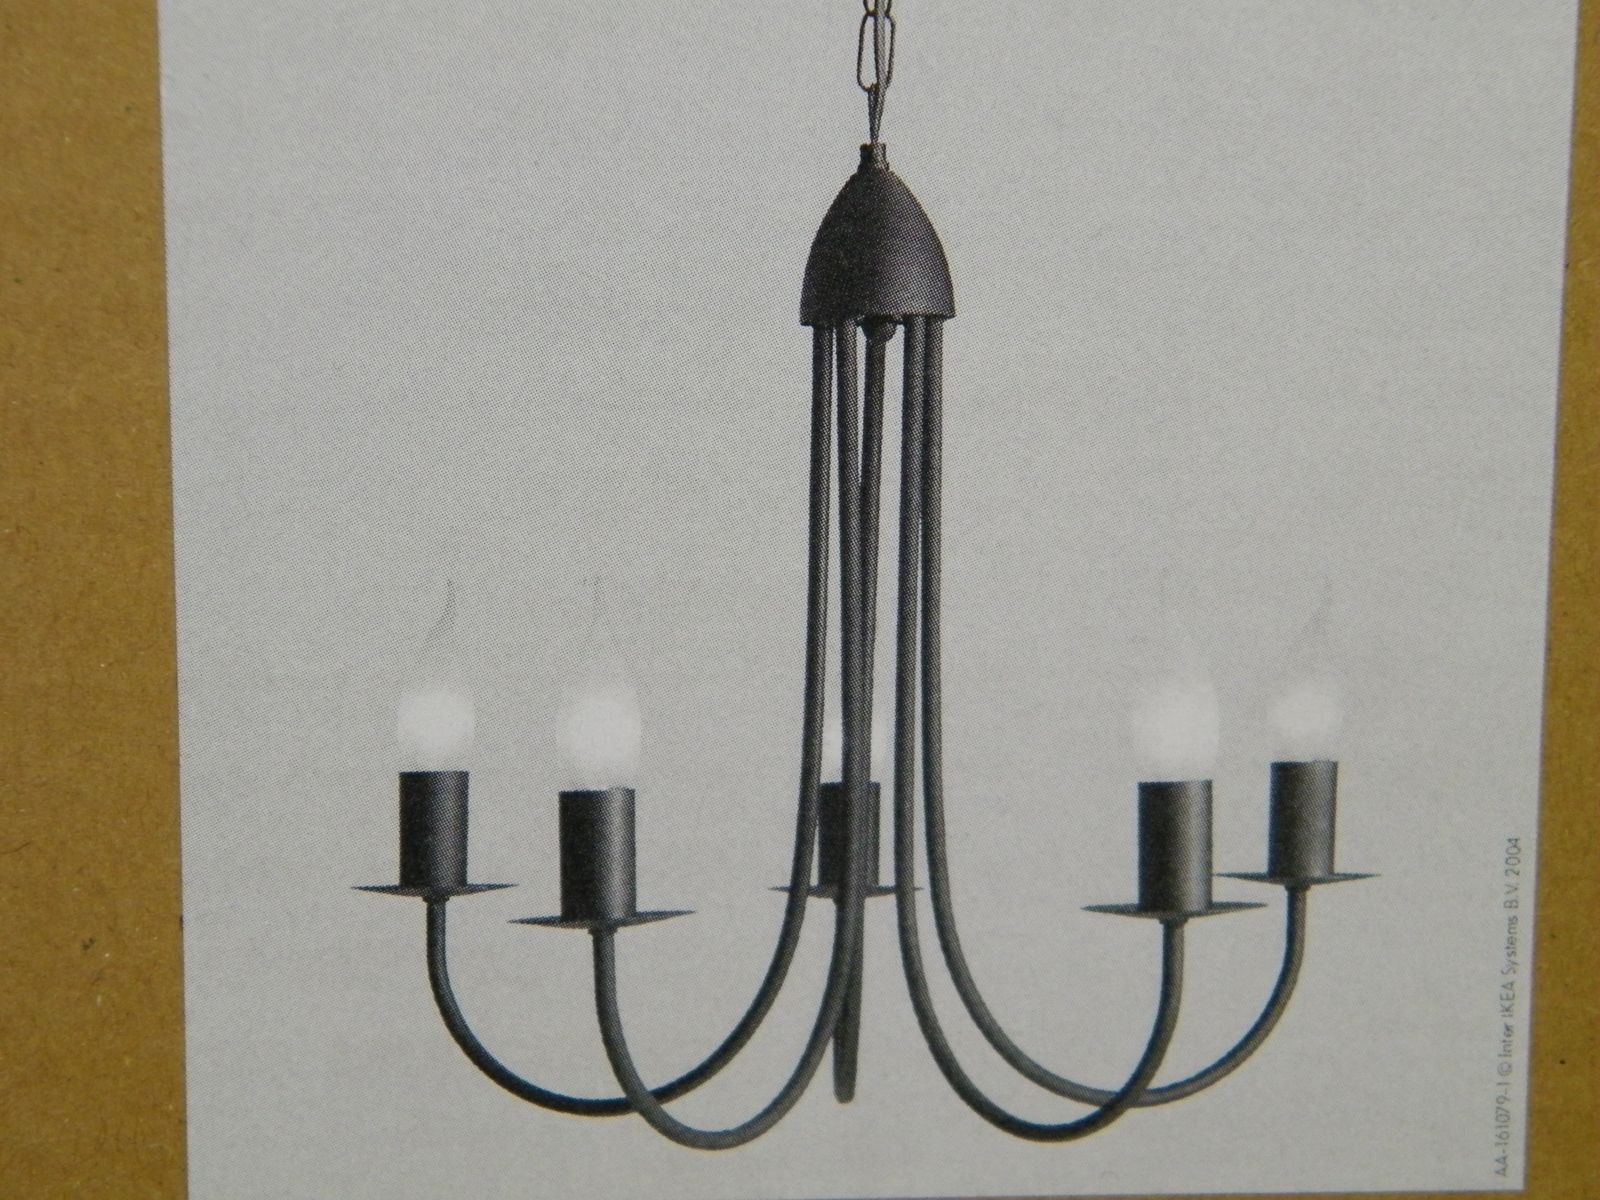
When my dear husband gets back, he has a "honey-do" list waiting for him. I want this light replaced with the black chandelier below, and I have a couple of cabinet pulls to install on the cabinet doors.
The room makes logistical sense! It works in a clockwise motion. You drop your clothes in the hamper. I come in and close the door to load the washer. Then items come out of the washer and on to the folding table or into the dryer. From the folding table they go up on the drying rack. Dry clothes come out of the dryer onto the "dump site." Solo socks get pinned up or matched with other "lonelies." Clothes are folded and go in baskets or hung and placed on the rods. I LOVE it!
Eventually, I also want a wall-mounted cabinet for over the bulletin board (*update: seen
here), a cabinet above the fridge, and more shelving above the dryer.
Updates to come!