home categories contact about me store
This blog is part of at least one affiliate program. As an Amazon Associate I earn from qualifying purchases.

Tuesday, August 31, 2010

Five-Spiced Sesame Tuna and Avocado

This is one of my favorite summer-time meals.  It's healthy; it's light, and its so good!  It's what we had for dinner tonight. 

Five-Spiced Sesame Tuna and Avocado

4 Servings

2 Avocados
Juice of ½ lime
1/3 C balsamic vinegar
¼ C tamari (dark soy sauce)
3 T honey
2 T vegetable oil
4 6oz tuna steaks
2 t Chinese 5 spice powder
½ C toasted sesame seeds
¼ C snipped chives (the "green" of green onions will work if you don't have chives)
½ head iceburg lettuce, shredded
White rice (frozen in bag, microwavable)

1. Thickly slice the avocados lengthwise and coat with the lime juice to prevent browning; set aside.

2. In a small saucepan, over med.-high heat, bring the vinegar, tamari, and honey to a low boil. Lower the heat and simmer until syrupy, 6-7 minutes. Set aside.

3. In a large skillet, heat the oil over high heat. Sprinkle tuna with 5 spice powder and season with salt and pepper. Place tuna in the skillet and cook, turning once, until just browned, 1-3 minutes on each side (depending on thickness.) Slice the tuna and top with sesame seeds and chives.

4. Place white rice in microwave and cook according to package directions. (Usually about 4 minutes.)

5. Divide lettuce among 4 plates and top with the tuna and avocado. Drizzle with the soy dressing. Put rice on the side.

post signature

Saturday, August 28, 2010

Fish Eggs

Okay, well they aren't really eggs from fish, but they are eggs that are molded into a fish shape.  You can buy the molds online at allthingsforsale.com or a multitude of other places.  The trick is to boil the eggs, peel them while they're hot, and place them in the molds while still hot.  I like my eggs medium boiled where it's all solid, but the yolk doesn't turn green.  I put the pot of water on to boil. While it's heating, I prick a hole in the bottom of each egg. Once the water comes to a boil, I place the eggs in the water and set the time for 9 minutes and 30 seconds.  When the timer goes off, I rinse the eggs in cold water briefly.  I lightly crack the egg by tapping all sides against the counter and then peeling the shell from the egg.  Place an egg in a mold, and either place it in the fridge or an ice bath.  My son thinks these rock...as you can see.  You can trim the edges to make it look cleaner, but I didn't bother this morning.  He is looking forward to finding the car shape in his lunch next week.
post signature

Checkerboard Apples

Like I said, I've become obsessed with lunch options.  Our little man *loves* pb&j; he likes a lot of foods, and he's not a "picky" eater.  However, if given the option, he would choose to have a pb&j for every meal.  My husband didn't eat apples and peanut butter like I did growing up.  We absolutely loved slices of apple with peanut butter slathered on each slice, and now my husband and son do, too. I saw a blog post with a tutorial on how to make the checkerboard apples and thought I would give it a try.  Notice that I only did 1/2 of them checkerboard.  It's a bit cumbersome, but it looks awesome.  My hope was that by doing 1/2, the effect was given, but the work wasn't quite as extensive.  When I went back to look for the tutorial that I originally found so that I could share it with you, I found THIS one instead at justbento.com.  Wow!  I have a lot to learn....Regardless, my son thought this was awesome!  (This container is made by Gauteplast, and I think I got it at The Container Store. It's called "Take a Dip" and has a lid for the dip compartment as well as the main compartment.)  
post signature

Wednesday, August 25, 2010

Bento Attempt

You may know that my oldest has started school.  I've been using LunchPunch for a while, and he loves them.  I bought them on Sweet Madys a year or so ago.  I even bought 2 extra sets and split them up to include in favor boxes at his birthday party.  My mom always made our lunches, and she made them "fun."  I always had healthy items (which I didn't always appreciate), but they were still fun.  Now, I face the same challenges with our kids.  One of our little people has an extreme egg allergy as well, so that limits many items that he can eat. 
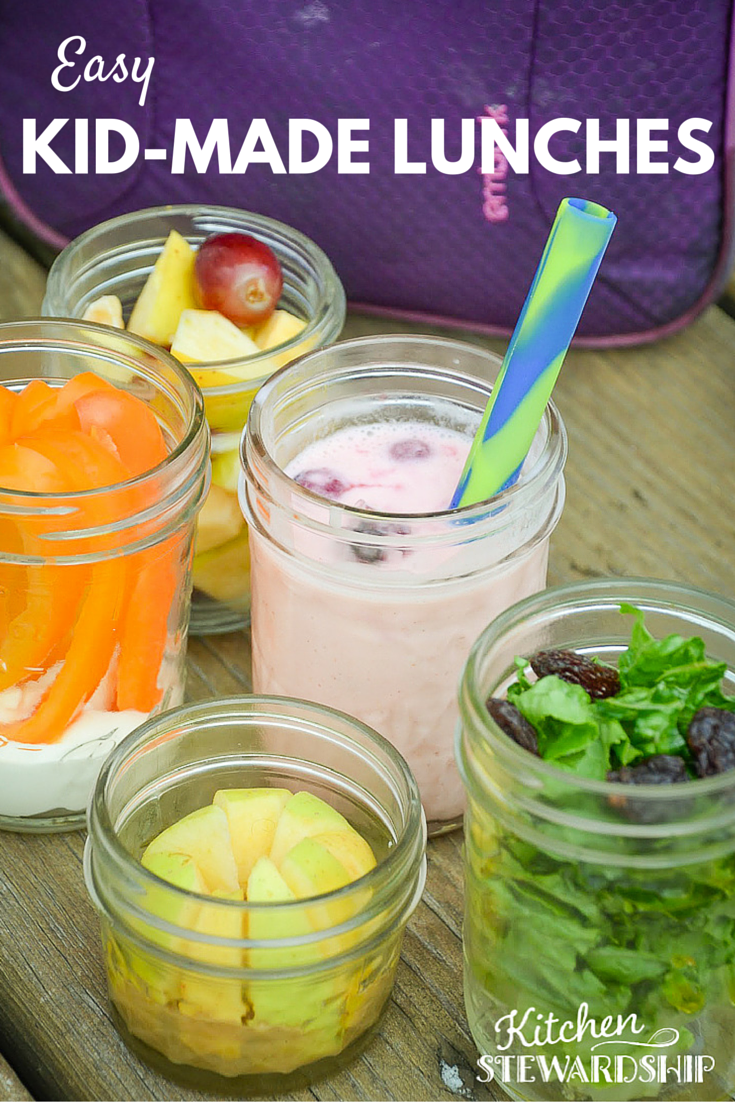
I ran across a website regarding Bento boxes for kids lunches.  I'm addicted.  I've since found several more blogs; I've scoured Amazon.com and the web looking for the best options for containers for our family.  This first bento attempt was done with containers and items that I already had.  I expect that it will be a week or two before my new goodies arrive from All Things For Sale.  We have a sandwich container that we reuse daily, but we still used ziplocs for all of the other remaining items.  I love that with a bento box: there's no waste, nothing gets crushed, things can stay separate, and it can even include a utensil if needed.
I used a Gladware container and some silicone muffin cups that I bought at World Market.  The cheese was cut with a mini cookie cutter, the wrapped prunes get "too hard" if I unwrap them according to my son, fresh blueberries, yogurt-covered pretzels from the bulk/organic section, and a pb&j cut with the butterfly Lunch Punch from the Critter Cutter set.
post signature

Monday, August 23, 2010

Mickey and Minnie Mouse Favor Tags and Bags

I decided that making EVERYTHING myself for this party wasn't going to happen this year.  So, I made a few pieces and purchased the rest.  Tags were made with the Cricut.  The bags were purchased on Etsy in handmadebysam's shop, and they were perfect!  I made the Mickey hands with felt and a template that I made from our oldest son's hand.  The chocolate dipped oreo lollipops with Mickey on them are also from Etsy in friendlycreations' shop.  The ears were purchased in TheLittlestFairy's Etsy shop. The bouncy Mickey ball (not pictured) and Mickey bubbles are from a local party store, and the stickers are from JoAnn Fabric.
post signature

Friday, August 20, 2010

Onesies

These are embroidered in addition to the "1" applique that came on these onesies fom Target. The baby's name is on the front across the applique, and "Baby A" or "Baby B" is on the bottom.
Happy 1st birthday weekend!

Wednesday, August 18, 2010

Front Door Birthday Sign

Even though most everything for the twin Mickey & Minnie party has the silhouette of the heads, I couldn't resist making the front door hanger a little different. It was my first "layer" effort with the Cricut, and it was so incredibly easy!

Highchair name banners for 1st Birthday

These will be attached to the front of highchairs for a first birthday party. They'll be perfect for "smash cake" pictures.  I layered 3 circles and a letter (Cricut's "Accent Essentials" and "Calligraphy Collection" cartridges were used.)

Monday, August 16, 2010

Birthday Banner

I found some adorable birthday banners on Etsy, but I couldn't justify spending the money on them when I knew I could make them myself in a relatively short amount of time.  I made these last month (before the Cricut came to live in our home.)  So, these are all printed and hand cut pieces.  Each letter is 3 layers: black cardstock, red cardstock, white cardstock with printed black letters. If I were to make them again, it should be much easier and can use the Cricut to cut the letters for me.  I chose to string all of the letters for each banner on one ribbon to prevent undue stress points.  I will say that hand-tying 3 layers of ribbon between each letter took more time than I anticipated.
post signature

Hangtag Closet Dividers

Do you (and your children) need as much help staying organized as possible?  I made some printable day of the week closet hangtags to help prepare my kindergartener for school each week.  I've listed them in my Etsy shop and am happy to make custom sets to match your needs.  Each set includes 5 hangtags (M-F.) 
Each Sunday, we will look at the weather and schedules to choose clothing for each day.  I found a fantastic idea (I *think* it was in Real Simple), and I hung a full length mirror in each child's closet. I bought four 3M removable hooks for each closet, and hung 2 at shoulder height and 2 at waist height for each child. 2 pieces of string to hang across the mirror and tie to the hooks like "clotheslines" for the "bottoms" and the "tops."  I also bought clear acrylic boxes and attached them to the closet door next to the mirrors to hold accessories.  Now, mornings should be much easier!

post signature

Who Picks Me Up From School?

Are your kiddos in after-school activities or have different people pick them up after school each day?  In order to make this a little easier on our new kindergartener, I have sewn a vinyl pocket inside his backpack, and I laminated cards to slip inside the pocket each day.  This way, if he can't remember where he is supposed to be going after school or who will be picking him up, he can take a peak at the image inside his backpack as a reminder of what his afternoon holds.

post signature

Saturday, August 14, 2010

Bake Shoppe!

You may have seen the "Bake Shoppe" that I made on a rolling shade for our daughter's room.  (The other window is a clothing store.)  Anyway, I haven't had time to make felt food with all of the felt playhouse work going on around here, but I found some insanely adorable baked goods on Etsy.  You absolutely MUST check out mommy24cs's store!  I'll take some better pictures with my camera (instead of my phone) soon, but I was too excited to wait to share!  I have one more teacake on order from momm24cs, but so far, we have 2 slices of cake, 2 cupcakes, 2 cookies, and 3 teacakes.  They are truly FABULOUS.
post signature

Friday, August 13, 2010

Felt Playhouse - Grillin' Time

I found the *cutest* felt food on Etsy.  Yes, I probably could have made some of them, but given time constraints with the twins turning one in a couple of weeks, I decided to order some of the food to add to the Felt Playhouse that I made.
The burgers for the grill are from KiddCheleen, and they are absolutely adorable.  So stinkin' cute.  I ordered 3.  Here are a few images of our oldest with his burger.

post signature

Now and Later Lasagna

I've always loved my mom's lasagna, but no matter how hard I try, when I make it, it just isn't the same.  Last night, I think I finally came up with a lasagna recipe that I love, and I can easily make enough to freeze AND I made it without any eggs.  Being that our middle child is highly allergic to eggs, that's a big deal.  Here is the recipe, enjoy!
Italian Sausage Basil Lasagna

*eggless option
Sauce:
2 tablespoons olive oil (I use a homemade garlic infused olive oil that I keep by my stove)
1 ½ pounds spicy Italian sausages, casings removed (or sweet or mild Italian sausage - I used 2 sweet and 1 hot, and all 3 kids still loved it)
1 cup chopped onion
3 large garlic cloves, chopped
2 teaspoons fresh oregano (dried is fine, too)
1/4 teaspoon dried crushed red pepper (may omit if feeding to children)
1 28-ounce jar tomato & basil spaghetti sauce
1 14 1/2-ounce can diced tomatoes with green pepper and onion (do not drain)
½ C red wine
5 oz. button mushrooms, sliced

Filling:
1 1/2 cups (packed) fresh basil leaves
1 15-ounce container ricotta cheese
2 C grated mozzarella cheese (about 8 ounces)
3/4 cup grated Parmesan cheese (about 2 ounces)
1 large egg (or *1 plain gelatin packet with 2 T warm water prepared just before adding to recipe)
1/2 teaspoon salt
1/4 teaspoon ground black pepper

Assembly:
12 no-boil lasagna noodles from one 8-ounce package
3 cups (packed) grated mozzarella cheese (about 12 ounces)
1 cup grated Parmesan cheese (about 3 ounces)
Nonstick olive oil spray

Directions for Sauce:
Heat oil in heavy large pot over medium-high heat. Add sausages, onion, garlic, oregano (if dried) and crushed red pepper and sauté until sausage is cooked through, mashing sausage into small pieces with back of fork, about 10 minutes. Add spaghetti sauce and diced tomatoes with juices. Bring sauce to boil. Reduce heat to medium, add wine and mushrooms. Simmer 5 minutes to blend flavors. Season with fresh oregano, salt, and pepper. (Can be made 1 day ahead. Chill until cold, then cover and keep chilled.)

Filling:
Finely chop basil. Add ricotta, mozzarella, Parmesan, egg or *gelatin mixture, 1/2 teaspoon salt and 1/4 teaspoon pepper. Stir until blended.

Assembly:
Preheat oven to 350°F. Spread 1 1/4 cups sauce in 13x9x2-inch glass baking dish or 2 9x9 squares (one for now, and one to freeze.) Arrange 2-3 noodles on sauce. Drop 1 1/2 cups filling over noodles, then spread evenly to cover. Cover with sauce. Sprinkle with 3/4 cup mozzarella cheese and 1/4 cup Parmesan cheese. Repeat layering of noodles, filling, sauce and cheeses 2 more times. Top with remaining 3 noodles. Spoon remaining filling, then sauce atop noodles. Sprinkle with remaining cheeses. Spray large piece of foil with nonstick olive oil spray. Cover lasagna with foil, sprayed side down.

Bake lasagna 40 minutes. Carefully uncover. Bake until noodles are tender, sauce bubbles thickly and edges of lasagna are golden and puffed, about 10 minutes. Transfer to work surface; let stand 15 minutes before serving.


post signature

Handmade Cards

I've had stamps, cardstock, and ribbon, but I haven't had much time to scrapbook over the past couple of years.  (Something about moving twice, making bedding and curtains for the twins' rooms, and having the babies....)  Anyway, I finally got a Cricut Expression, and I *love* it.  I was able to catch it on sale at JoAnn fabric after watching all of the sales for a while.  This was the best deal I could find (even better than Craigs List believe it or not.) 
In my attempt to learn about this lovely new machine, because really, who has time to watch the DVD?  I made a few cards and a few items for Bailon & Brittyn's first birthday.  These cards were my first attempt, and I'm sure I'll get much better, but I was pleased with them.  I love that the inside of each has some adornment to add that extra flair.

CARD 1 - Sending Warm Fuzzies just because...


CARD 2 - All purpose card
CARD 3 - Styles Come and Go, but Girlfriends are Forever
CARD 4 - Thank You
CARD 5: You're the Best (all purpose)
post signature

Monday, August 9, 2010

Felt Playhouse

This project has grown and multiplied before my very eyes. When I started, it was because I accidentally happened upon a blog post that was very cute. Since then, I have looked for other felt playhouses, searched Etsy, and eventually planned out what became a very extensive (and somewhat expensive) playhouse for our little people. I have finished the "meat" of the outside of the playhouse and pieced the "shell" together. I have several more items to make for the outside and 4 interior walls that I haven't even started. However, it is now functioning!!! I finished the scalloped roof this morning, and it is on the breakfast table for use.


I've already received a lot of questions about the playhouse.  Here are a few answers:


It took me around 6 weeks of working on it when I had the time to complete what you see in these pictures.  I didn't work on it daily, but there were many hours invested.
If you buy all of the felt at 1/2 off, you would spend around $100 for the felt that I purchased, and I still have quite a bit that I'll be using on the interior walls.
I can follow patterns, but I'm more of a figure it out and go kind of person. There is a blog out there that has a few patterns for flowers, etc. for the playhouse. http://shannonmakesstuff.blogspot.com/2010/01/felt-playhouse-patterns.html
I really just did research on what was out there (blogs, flickr, etsy, etc.) and then I started a "wish list." I sketched out what I wanted to do on each side in a spiral notebook, and then got started. No tutorials. Rachel from One Pretty Thing asked me if I had a tutorial to share. I'm not sure I'm prepared to take the time to write one, but I guess I could as I go through the interior walls....We'll see. I certainly learned a few things that are easier one way than another. For example, I wasn't sure how to do the scalloped roof without drawing a pattern on, and I didn't want to do that prior to attaching the hanging walls, because I wanted to make sure they were perfectly even. I realized I could put the playhouse on the table, flip the excess hanging fabric up onto the table over a rotary cutting mat, use a marked lid as a template, and a rotary cutter. It was so easy that way! No drawing, no measuring, no fumbling with the whole playhouse on the floor.
The house fits over our counter-height breakfast table and is 54" square and 36" tall if I remember the height correctly. I used a light colored felt for the walls in order to let some light in, and I made 2 windows (black mesh screen), the door with the "glass" (vinyl), and the dog house door opening to allow for light. The roof is solid felt. Eventually, I hope to make board games that can be used on the roof or in the house and can easily be stored in pockets on the roof. Again, I have a long "wish list." There's plenty of light inside to play. The kids spent a good portion of today playing in and around it since it was already set up.
I sewed everything. I didn't use any glue. The twins are so young that anything that's glued would be torn apart almost instantly and, more than likely, ingested.
For the interior walls, I would love to not add another layer of fabric for the "walls", but I don't want seams across all of the outside either. I may use a lightweight cotton and sew it to the felt for reinforcement after I attach all of the pieces. I know that I want a fireplace with book "cases" (pockets of sorts that look like book spines and hold actual books for the kids to read while in their house) on each side of the fireplace, vinyl pockets or "picture frames" for their artwork, a mail sorting station, and a refrigerator that is stocked with removable food for them to use in conjunction with the garden food items.
Yes, I did take into consideration both genders. My daughter's room would have been a prime spot for a "tea house" or "bake shop" etc. My son is "baby destructo"....so he just wants to be able to shake, throw, pull, tear, bounce, and LAUGH. I wanted things that were gender neutral. They can all cook, plant, have pets, wash laundry, deliver mail, etc. I didn't want to have to make 2 (one with trains and the other with tea sets.) Everything on the house that I made is something that we have at our home in some fashion. (No, we don't have a clothesline - probably against HOA codes, but I do have a drying rack for delicates in the utility room.)
I will say that even folded, it's more bulky than I was anticipating since our table is so big (seats 8.) However, I don't think I would use cotton for the exterior walls, because I feel like the other items would be too heavy and would cause sagging and pulling on the cotton. Felt is the "fabric of choice" because you don't have to finish many edges. (I think it's a good idea for the doors since they'll take a beating.)
If you think of anything else, feel free to ask. I may keep all of these notes so that I can add them to a tutorial if I decide to put one together eventually.
Good luck!
post signature